I spent last week fairly ill with some sort of flu. I haven't been so sick in a long time. Consequently, I don't have much to write about. Instead, I'd like to share a sermon by my favourite preacher, my husband!
http://www.charlottetownbiblechapel.org/wp-content/uploads/2012/01/Jan-29-2012-AM-Robbie-MacGregor.mp3
I hope this is helpful and encouraging to you! Thank you for visiting today. Linking up to the Hip Homeschool Hop.
Tuesday, 27 March 2012

Wednesday, 14 March 2012
A New Schedule
We finally finished up the My Father's World curriculum and now we are using Ambleside Online as our "base" curriculum. We've changed our schedule slightly, but we're still using our workbaskets to stay organised. This is what our week looks like:
Bible - reading Psalms 6-10, Devotional Calendar
Copywork - verses from the Psalms this week
Poetry - poems by Christina Rossetti
Math - Money (using quarters and loonies)
Phonics - rereading some of the stories from the Bible Reader and working on spelling words from the stories
Literature - finishing up The Wind in the Willows
History - Our Island Story and Discovery of New Worlds
Science - finishing up The Burgess Animal Book for Children
Geography - working on identifying the provinces and territories of Canada and some Canadian symbols (flag, coat of arms, etc)
Free Reading - Mary Poppins by P L Travers
We're easing into the new workload and things have been surprisingly smooth. The work seems to be getting done in a more timely fashion. One thing I have gotten rid of gladly is written narration for now (thank you, Charlotte Mason!). I'm asking Lassie to give me an oral narration which I write down.
The above schedule is mainly Lassie's work but Laddie listens in on all the reading. He is doing lots of hands-on activities (pattern blocks, Lego, Cuisinaire rods), some preschool skills worksheets, and our homemade Handwriting Without Tears programme (which I hope to blog about soon!).
Thanks for visiting today! Linking to the Hip Homeschool Hop
Friday, 2 March 2012
Learning About Time

My daughter is really struggling with learning about time and how to tell time on a clock. So, I decided to make a clock that we could play with to try to reinforce the concepts I've been trying to teach.

I had all the supplies I needed in my craft stash (I'll provide a supply list at the end of this post for those of you interested in knowing exactly what I used). The clock face is an image from The Graphics Fairy that I printed out on cardstock. I went over the hour numbers with a red marker and coloured the minute marks with a blue marker (I also added in the minutes in 5 minute increments around the outside edge). After trimming the paper a little, I put some self adhesive magnet sheets on the back. I drew a minute hand and an hour hand on scraps of cardstock and cut them out. I added some scraps of the magnetic sheet on the back of the hands so they would stick to the clock. I used some leftover bits of cardstock with a little piece of magnet on the back to make schedule cards. These have a time and an event written on them (for example - in the photo below, the card says 7.30 Breakfast and I have the hands of the clock placed correctly to show that time).

I'm hoping to use this as a schedule reminder as well as a teaching tool to help Lass grasp the concept of time.
Thanks for visiting today!
Supplies used
(2) 6" x 9 " self adhesive magnet sheets - Dollar store
(1) 8 1/2" x 11" sheet tan cardstock - Recollections brand from Michaels
Sharp pair of scissors (DO NOT use your best scissors because the magnet sheets make them really gummy)
Scraps of red, blue, and cream cardstock
Red and blue markers - I used Crayola SuperTips
Time from start to finish
30 minutes
Friday, 24 February 2012
Homemade Laundry Soap, Version 2 . 0
Powdered homemade laundry soap - I can't believe I didn't try this before! I think the main thing holding me back was that the recipes I had come across for the powdered version required the use of a food processor (which I don't have and don't have any plans to purchase). Then I came upon this recipe at DIY Natural. It seemed too easy to not try, so why not?
I used the same basic ingredients as for my liquid version, minus the water:
1 bar Sunlight soap
1 cup Arm & Hammer washing soda
1 cup 20 Mule Team Borax
I grated the bar of Sunlight soap in a large bowl using a cheese grater. Then I added the washing soda and the borax.
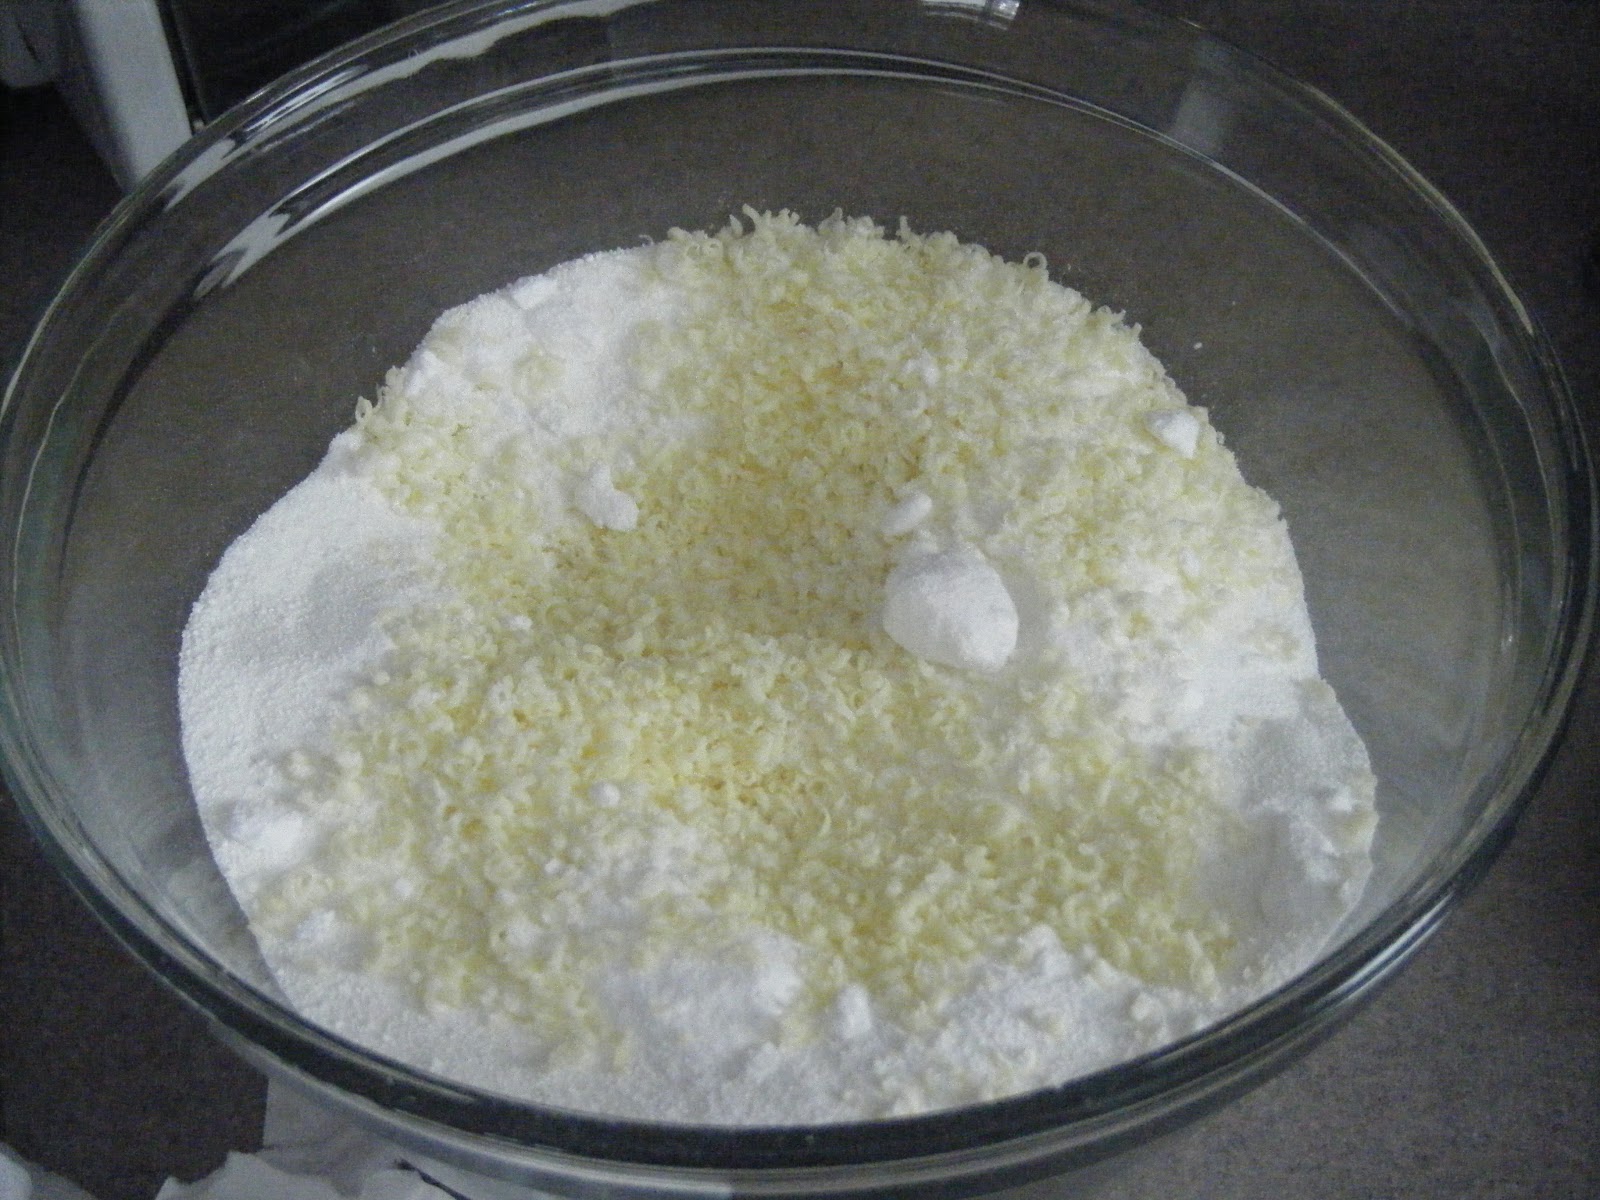
Then I stirred and stirred and stirred some more...

...until I ended up with a powder. It took about 10 minutes of vigorous mixing to end up with a fine powder. You use 1 or 2 tablespoons per load. This made enough to last me about two weeks.
I was skeptical about how well this would work and if it would leave a powdery residue on the laundry. So far, after nearly 3 weeks of use, I haven't had any problems at all. If a load is quite dirty (play clothes, etc.) I have been adding a scoop of Oxi-Clean to the water first.
Thanks for visiting today!
Tuesday, 21 February 2012
A Winter Sunset
This was the western sky last night...


It was so beautiful! I couldn't decide which photo to use so I used them all. I walked down the road a little to get a good shot of the sun over the hills and there were some people pulled over on the side of the road in their truck also snapping photos. So, I'm not the only person who runs around taking pictures of sunsets in -10C weather. Does that make me normal? ;)
Thanks for visiting!
Thanks for visiting!
Monday, 20 February 2012
Mid Winter on Prince Edward Island

11 February 2011

18 February 2012
It's the same lane. It's the same car. The car is STUCK in both photos. The only difference is the amount of snow. Such is life here in the winter.
Happy Islander Day to all my fellow Islanders!
Wednesday, 1 February 2012
Workbaskets
We have been using a modified version of Sue Patrick's Workbox system this year in our homeschool. We do not have the space in our small home to do the original system, so I came up with this after looking at others homeschoolers' creative solutions.
I decided that we would each have an assigned colour - mine is green, Lassie's is pink & purple, and Laddie's is blue. I already had the 2 white plastic baskets that are just barely big enough to hold the file folders and lots of plain manila file folders, which I decorated with patterned scrapbook paper. I bought a few coloured file folders at our local discount store ($1.09 for 6). The charts and number cards are from Sunflower Schoolhouse. I laminated the charts and cards with clear contact paper and used Velcro dots (from the dollar store) to attach the cards to the chart. So setting up this system cost less than $10 total.


I decided that we would each have an assigned colour - mine is green, Lassie's is pink & purple, and Laddie's is blue. I already had the 2 white plastic baskets that are just barely big enough to hold the file folders and lots of plain manila file folders, which I decorated with patterned scrapbook paper. I bought a few coloured file folders at our local discount store ($1.09 for 6). The charts and number cards are from Sunflower Schoolhouse. I laminated the charts and cards with clear contact paper and used Velcro dots (from the dollar store) to attach the cards to the chart. So setting up this system cost less than $10 total.
This is Lassie's basket


Her pencil box is stored right in the basket so all her materials are ready to go.

Her work is sorted into the file folders.
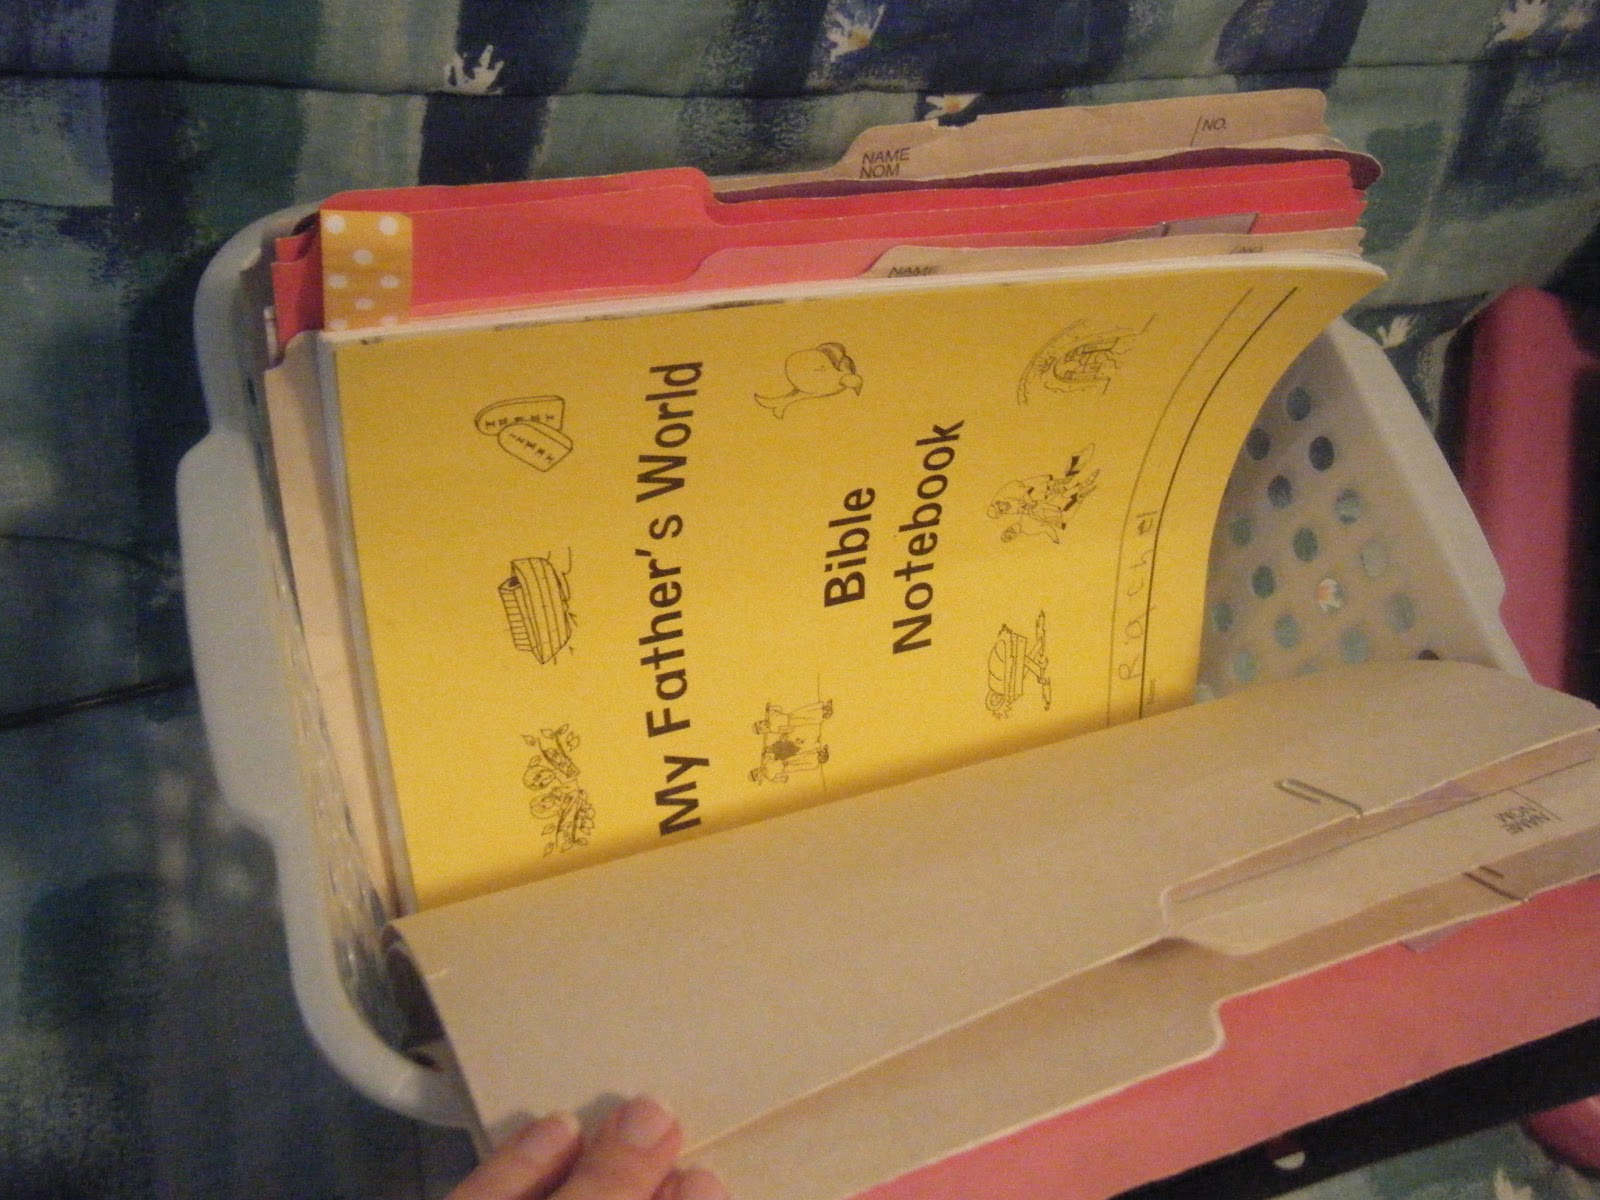
Currently, folder #1 is calendar and Bible, #2 is her Bible Reader, #3 (pictured above) is the Bible Notebook, #4 is Math, #5 is her Read Aloud book, and #6 is Narration & Journal. I do have the chart set up for 12 folders but we haven't done more than 8 on any given day so far.

This is my basket. Those 5 green file folders are labelled Monday-Friday. I put the math worksheets, copywork pages, books, Bible verses, etc for each day into the appropriate folder. I usually try to do this on Saturday. That way, I can just grab my planner, pull the folder for the day, and organise the workbaskets in no time at all. It took me some time to get the routine down, but I find this system is very helpful in keeping our homeschool on track.
Thanks for visiting today!
Subscribe to:
Posts (Atom)